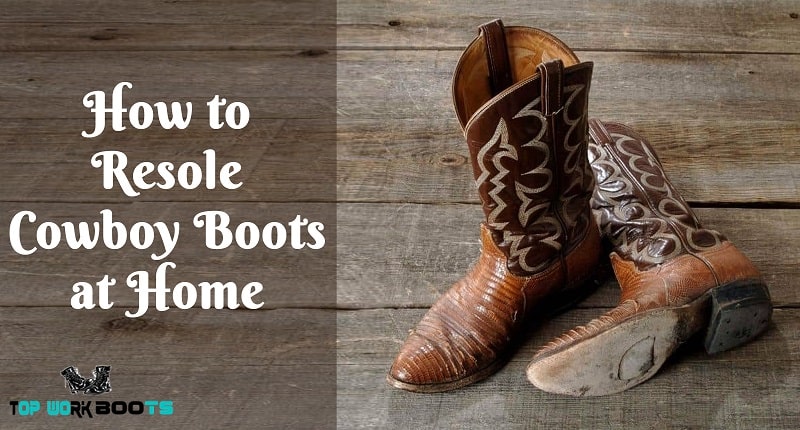
How to Resole Cowboy Boots at Home
by James Miller
Cowboy boots are one of the few boots that are made of excellent durable materials. However, the boot’s sole is the most exposed part, and it takes a lot of work. With this exposure, you will get that it will not be durable like the other parts, and therefore, there is a need to do some resoling.
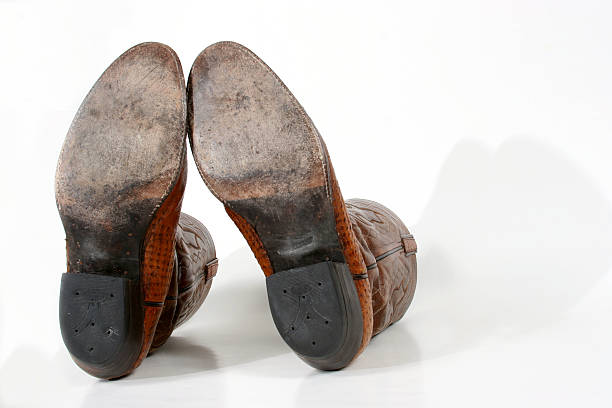
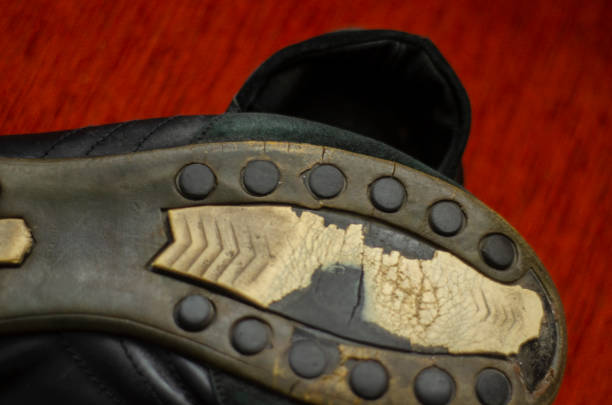
The most notable sign of a cowboy boot that needs resoling is when you see holes, the heels wear down and expose the nails. In this case, repairing is required; there are various resole methods you can use. One of the standard methods is resoling at home.
Contents
- Step by Step Guide to Resole Cowboy Boots
- Step 1 Cowboy Boot Kit Preparation
- Step 2 Break Down the Cowboy Boot
- Step 3. Sanding
- Step 4 Cleaning the Sole
- Step 5 Make the Midsole Rough
- Step 6 New Sole Attach
- Step 7 Apply Glue on the Heel Area
- Step 8 Attaching the Heel with the Leather Piece
- Step 9 Attach the Heel with the Outsole
- Step 10 Dye the New Sole
- Tips to Remember When to Resole Cowboy Boots at Home
- FAQ
- Final Thought
Step by Step Guide to Resole Cowboy Boots
The method involves multiple steps, the major steps which include,
Step 1 Cowboy Boot Kit Preparation
The first step is to prepare your cowboy boot repair kit. Cowboy boot repair requires a lot of effort, and therefore there is a need to ensure you have the specialized tools in your repair kit.
Step 2 Break Down the Cowboy Boot
Using pliers, pop off the heel cap. You can pop off the heel base using the metal scraper. Trim off all the nails from the heel of the cowboy boots. Cut off the old sole using a thin knife while pulling it off with your pliers. Ensure that all the nails on the outsole of your boot have been removed.
Step 3. Sanding
Sand well the surface of the sole of your cowboy boot. Prepare the new outsole and make it more significant than the old one. The material can be rubber, and it should have a thickness of around 4mm. Ensure you have removed all the stitches from the sole to have enough space for the new stitches.
Step 4 Cleaning the Sole

Use acetone to clean well the midsoles and the outsoles. If your boot has a midsole, clean it and if you want to use a new layer midsole, clean them well with acetone.
Step 5 Make the Midsole Rough
You may notice that the midsole might be smooth; try to make it rough. The idea behind this is to ensure that the adhesiveness of the midsole has increased. Smooth surfaces do not stick firmly when fixing the sole. You can use a rough scrap or rub it on a rough area.
Step 6 New Sole Attach
After making the surface rough and cleaning well, apply a special glue to the cowboy boot soles. Then gently attach the sole to the boot and ensure it sticks firmly. Using a sharp knife or sharpener, cut off the access to the new sole. The process is difficult because the new sole is hard.
After cutting, you can use sandpaper to rub the edges of the new sole to have a perfect fit. With the help of a special sewing thread, stitch the new sole firmly to the cowboy boots. Nail the concave part in the middle of the sole with nails. The process is also somehow difficult but do it gently and with patience.
Step 7 Apply Glue on the Heel Area
In this stage, you are supposed to attach the heel to the boots. To attach it, clean the outsole and measure your heel’s areas or boundaries using a marker. Then apply glue gently on the outsole areas where the heel will be attached.
Step 8 Attaching the Heel with the Leather Piece
Cut a leather piece the same size as your heel. Apply glue on both the inner heel sole and one side of the leather. Attach them and apply some pressure with either a hammer or stick well. If the leather piece is somehow more significant, cut it to fit the heel size.
Step 9 Attach the Heel with the Outsole
Attach the heel with your outsole where you had an earlier market and glued. Apply some pressure or hit it gently with a hammer to make it stick firmly. You can now insert nails and hit them gently. Make sure it has attached the heel and outsole.
Step 10 Dye the New Sole
Depending on the cowboy boot color, apply your favorite dye on the entire new sole and buff to polish the boot’s bottom. Then you can clean your cowboy boots.
Tips to Remember When to Resole Cowboy Boots at Home
Use a professional boot repair kit. This is vital because a professional boot kit has all the cowboy boot repair items that you need to repair or resole your boot at home.
When resoling your cowboy boot, make sure that you are using a more expansive than the old sole. Cut the excess after attaching the new soles. This is vital in preventing the boot from becoming narrow when resoling.
If you can afford it, use a machine to sew the new soles of the cowboy boots. This is because the machine will ensure that it is firm and does not peel off easily when using the boot.
Use the nail in nailing the heels at the boot base tightly to the sole. This will make the sole firm and supportive to the feet.
Avoid replacing the half-sole twice consecutively. This is because the sole will be loose and might peel off easily because they are not firm. After the first half-sole replace, the next time replaces all the sole in subsequent time.
Sand the sole surface and make it rough before applying glue and attaching. This will make the heel base excellent and firm.
FAQ
How long will it take to get my cowboy boot resoled?
The cowboy boot soles’ durability majorly depends on how you use your boot and the material used to make them. For leather sole, resole them after two years and four years rubber sole if you are using your boots daily. Always change your boot sole when holes start to appear or nails appear.
Is boot resoling worth it?
Yes, when the outsole is broken or has soles, water will get into the boot, and you will feel uncomfortable. Buying a new cowboy boot can be expensive; if the other parts are good, resoling your boot is ideal. Resoling the boot will be fine and make the cowboy boot look new again.
How can I know my boot needs resoling?As we have mentioned, various indications will show you that your cowboy boot needs resoling. There is no need to rush to a cobbler if you haven’t seen some of this indication. Check when there are holes on your outsoles or nails that have started to appear on your heel. This means that the sole needs to be repaired.
Final Thought
When the soles break, there is a need to replace them to make them more comfortable. Despite that Cowboy boots have a substantial sole, they can also break. There are various methods that you can use to resole your cowboy boots.
One of those processes is home cowboy boots resole. The process is a bit difficult, but if you follow step by step guide, you can carry the process to your home. This method doesn’t need one to be a professional for them to resole their cowboy boots perfectly. All you need is to have all the items required and follow the steps keenly, and you will resole the boot comfortably.
 |
 |
 |
 |

About James Miller
James Miller is a dedicated individual based in the vibrant city of San Francisco, CA, USA. His unwavering passion lies in the realm of construction, where he finds fulfillment in exploring and documenting various facets of construction equipment and processes. A graduate of the University of California Merced, James holds a dual degree in mechanical and electrical engineering, which has equipped him with a solid foundation in technical knowledge.
With a keen eye for detail and a knack for articulation, James has channeled his enthusiasm into writing about the intricacies of construction gear and methodologies. His insightful writings offer valuable insights to both industry professionals and curious enthusiasts, shedding light on the machinery and techniques that shape the built environment.
James Miller's educational background in mechanical and electrical engineering lends credibility to his work, allowing him to delve into the technical nuances of construction with precision. His passion for sharing knowledge and fostering understanding in the construction field is evident in his contributions, making him a respected voice in the industry.
Thoughts on "How to Resole Cowboy Boots at Home"
|
|
|
|
Top Boot Reviews
Get FREE Boots Gifts now. Or latest free toolsets from our best collections.
Disable Ad block to get all the secrets. Once done, hit any button below
|
|
|
|